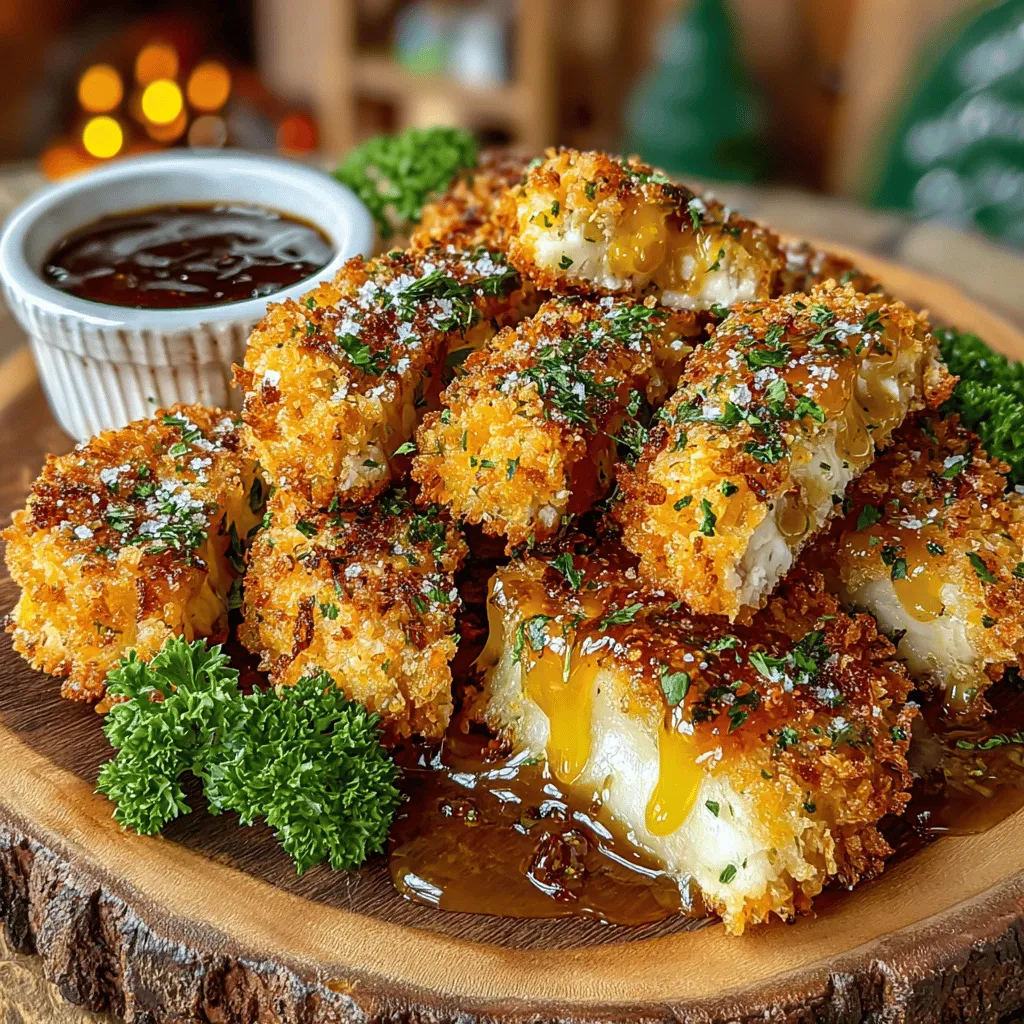
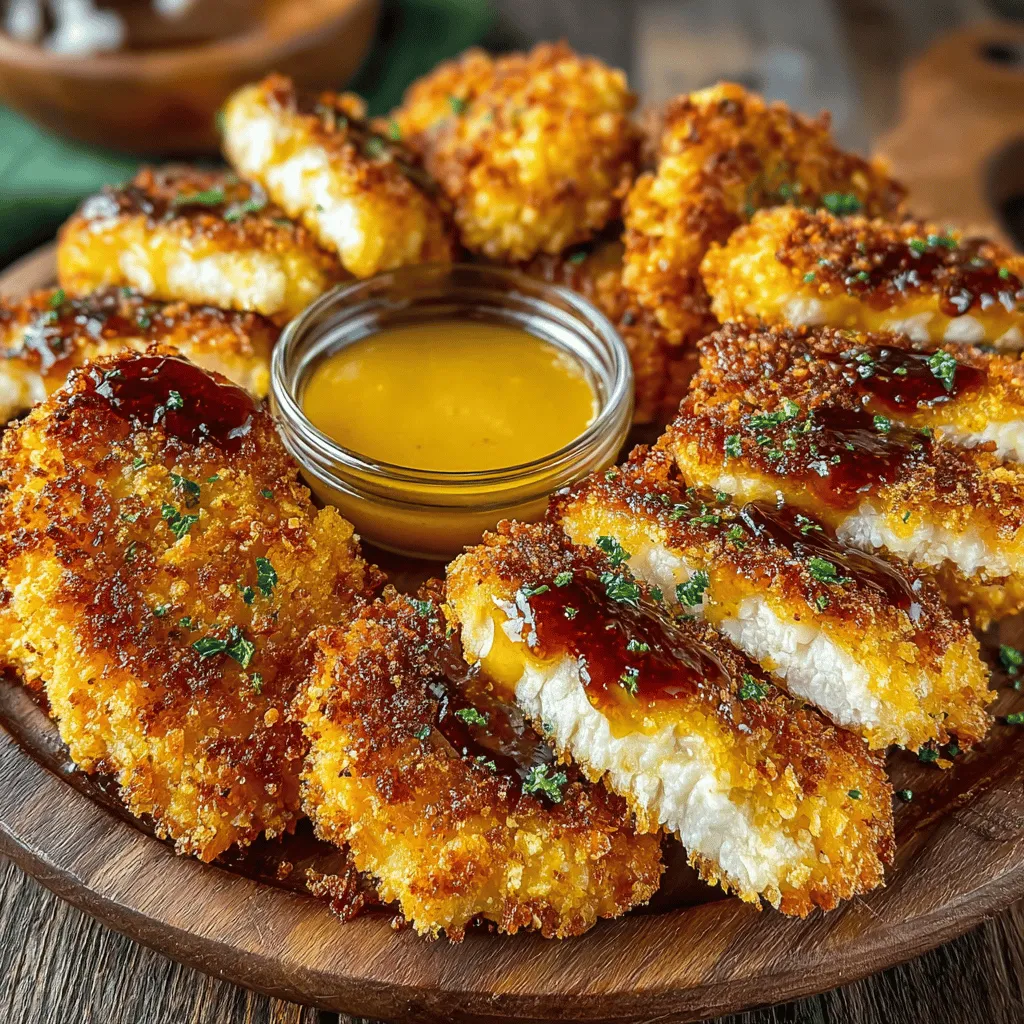
Crunchy Kiddo Chicken Tenders: A Family Favorite Reinvented
In the realm of family-friendly meals, few dishes hold a candle to the beloved chicken tender. Crunchy Kiddo Chicken Tenders elevate this timeless favorite, offering the perfect balance of a crispy exterior and a tender, juicy interior that delights palates of all ages. These tenders are not just a staple for kids; they also satisfy adults looking for a delicious snack or a fulfilling meal. This article will walk you through the process of creating these mouthwatering tenders using an air fryer, providing a healthier alternative that doesn’t compromise on flavor.
The popularity of chicken tenders transcends generations, making them a go-to choice for busy parents seeking quick weeknight dinners or satisfying party appetizers. By opting for the air fryer method, you can achieve that coveted crunch without the added oil associated with traditional frying. Let’s explore the ingredients that make the Crunchy Kiddo Chicken Tenders stand out, the preparation techniques, and some creative serving suggestions to turn mealtime into an enjoyable experience for everyone.
Understanding the Ingredients
To create the ultimate Crunchy Kiddo Chicken Tenders, it’s essential to understand the role of each ingredient.
– Chicken Breast Tenders: Chicken breast tenders are the ideal choice for this recipe due to their inherent tenderness and flavor. Unlike other cuts of chicken, tenders are lean and cook quickly, making them perfect for achieving that juicy bite without overcooking. Their shape also lends itself well to breading, ensuring a satisfying crunch in every bite.
– Panko Breadcrumbs: The secret to achieving an unbeatable crunch lies in the use of panko breadcrumbs. Originating from Japan, panko breadcrumbs are coarser and flakier than traditional breadcrumbs, providing a light and airy texture that crisps up beautifully in the air fryer. This unique quality allows the tenders to achieve a golden-brown finish that is both visually appealing and delicious.
– Seasonings: The role of seasonings in enhancing the flavor of the chicken tenders cannot be overstated. A blend of garlic powder, onion powder, paprika, salt, and black pepper creates a well-rounded flavor profile that elevates the dish. Each seasoning complements the others, ensuring that every bite is packed with a savory punch.
– Egg and Flour: These two ingredients are crucial in the breading process. The flour coating serves as the first layer, allowing the egg to adhere better to the chicken. The egg, in turn, provides a sticky surface for the panko breadcrumbs to cling to, ensuring an even and consistent layer of crunch.
– Cooking Spray: While not a traditional ingredient, a light spritz of cooking spray is vital for achieving a crispy finish without the extra calories that come from frying. The spray helps to promote browning while keeping the tenders lighter and healthier.
Preparing the Chicken Tenders
The preparation of your chicken tenders sets the foundation for their ultimate success. Proper preparation techniques can make all the difference in achieving that coveted crunch.
– Rinsing and Drying: Before you begin, rinsing the chicken tenders under cold water and patting them dry with paper towels is a simple but effective step. This process removes any excess moisture, which is crucial for ensuring that the tenders crisp up nicely in the air fryer. Moisture can lead to steaming rather than frying, resulting in a less desirable texture.
– Creating a Breading Station: Organizing your ingredients into a designated breading station is an efficient way to streamline the process. By setting up three shallow dishes—one for the flour, one for the beaten eggs, and one for the panko breadcrumbs—you can easily navigate the breading process without creating a messy kitchen. This setup not only saves time but also minimizes the mess, making cleanup a breeze.
Breading Techniques for Perfectly Coated Tenders
Once you have your chicken tenders prepared and your breading station set up, it’s time to dive into the breading techniques that will yield perfectly coated tenders.
– Flour Coating: Start by dredging each tender in the flour, ensuring an even coating. This first layer is crucial as it helps to absorb any moisture and creates a barrier for the egg mixture. Be sure to shake off any excess flour to prevent clumping.
– Egg Dipping: Next, dip the floured tender into the beaten egg. The egg acts as a glue, providing a sticky surface that allows the panko breadcrumbs to adhere properly. Make sure to coat the entire surface of the chicken, letting any excess egg drip off.
– Panko Application: Finally, roll the egg-coated tender in the panko breadcrumbs. Press down gently to ensure that the breadcrumbs stick well, creating a thick layer of crunch. For an even coating, consider using one hand for the wet ingredients (egg) and the other for the dry (flour and panko). This technique helps to keep your hands clean and makes the process smoother.
Air Fryer Essentials for Crispiness
With your chicken tenders breaded and ready to go, it’s time to maximize your air fryer’s potential for achieving that desirable crispiness. Preheating your air fryer ensures that the tenders cook evenly and reach the perfect level of doneness. A good rule of thumb is to set the air fryer to 400°F (200°C) for optimal cooking.
When placing the tenders in the air fryer basket, be sure not to overcrowd them. Allowing space between each tender ensures proper air circulation, which is key to achieving that golden-brown crust. If you’re making a larger batch, consider cooking them in batches to guarantee consistent results. A light spritz of cooking spray on the tenders before cooking will enhance browning and crunchiness, giving you that fried texture without the need for deep-frying.
In the next part of this article, we will delve into the cooking process and provide you with some creative serving suggestions that will make your Crunchy Kiddo Chicken Tenders a hit at the dinner table. Stay tuned for more tips and tricks to elevate your chicken tender experience!

Preheating: Why This Crucial Step Cannot Be Overlooked
Preheating your oven or air fryer is an essential step that sets the stage for cooking your Crunchy Kiddo Chicken Tenders. When you preheat, you’re ensuring that the cooking environment reaches the ideal temperature to achieve that perfect crispy texture. If you skip this step, your tenders could end up soggy instead of the crunchy delight you desire. The heat helps to create a barrier on the outside, sealing in the moisture while allowing the coating to become golden and crispy.
To preheat, set your oven or air fryer to the recommended temperature (usually around 400°F or 200°C) and allow it to heat for at least 10 minutes before placing your chicken tenders inside. This simple yet effective step will significantly enhance the overall quality of your dish.
Arranging Chicken Tenders: Best Practices for Even Cooking and Optimal Crisping
The way you arrange your chicken tenders in the cooking vessel can impact their final texture and flavor. Start by placing the tenders on a baking sheet lined with parchment paper or in the air fryer basket in a single layer. Avoid overcrowding, as this can lead to steam buildup, which inhibits crispiness.
Leave sufficient space between each tender to ensure hot air circulates evenly around them. For the best results, position the tenders with the thicker side facing outward, as they tend to take slightly longer to cook. This arrangement will promote uniform cooking and a delightful crunch on all sides.
The Role of Cooking Spray: How Light Application Enhances Texture Without Excess Oil
While the coating on your chicken tenders will provide some crunch, a light application of cooking spray can elevate that texture even further. Cooking spray adds a thin layer of oil that helps the breadcrumbs crisp up beautifully during cooking.
To use cooking spray effectively, lightly mist the tops of the chicken tenders right before they go into the oven or air fryer. This technique allows for a golden-brown finish without the need for heavy oils, making your meal healthier and keeping it family-friendly.
Cooking Your Crunchy Kiddo Chicken Tenders: A Comprehensive Look at the Cooking Process
Ideal Temperature and Timing: Understanding the Science Behind Cooking Chicken Tenders
Cooking chicken tenders to the right temperature and duration is crucial for both safety and texture. The internal temperature of cooked chicken should reach at least 165°F (75°C) to ensure it is safe to eat. For tenders, this usually means cooking them for about 15-20 minutes in the oven or 10-12 minutes in an air fryer, depending on their thickness.
Keep in mind that thin strips may cook faster, while thicker pieces will require a bit more time. It’s wise to check the internal temperature halfway through the cooking process to gauge how much longer they will need.
Flipping Technique: The Importance of Turning During Cooking for Even Browning
To achieve that desirable golden crust on both sides, flipping your chicken tenders midway through the cooking process is essential. This simple action ensures that both sides receive equal exposure to heat, promoting even browning and preventing one side from becoming overcooked while the other remains pale.
Using a pair of tongs, gently turn each tender after about 7-10 minutes, then return them to the oven or fryer to finish cooking. This technique not only enhances the appearance of your tenders but also contributes to a satisfying crunch.
Ensuring Doneness: How to Check if Your Chicken is Safe to Eat
Checking for doneness is a vital step that cannot be overlooked. To confirm that your chicken tenders are cooked through, use a meat thermometer to check the internal temperature. Insert the thermometer into the thickest part of the tender to get an accurate reading. Once the temperature reads 165°F (75°C), your tenders are ready to come out of the oven or air fryer.
If you don’t have a meat thermometer on hand, you can also cut into one of the tenders to check that the meat is opaque and the juices run clear. If the meat is still pink or the juices are red, return the tenders to the heat for a few more minutes.
Serving Suggestions for a Family-Friendly Meal
Creative Ways to Enjoy Your Chicken Tenders
Once your Crunchy Kiddo Chicken Tenders are perfectly cooked, it’s time to serve them up! Here are some creative serving suggestions to make your meal fun and appealing for both kids and adults.
Dipping Sauce Options: Exploring Popular Choices Like Honey Mustard, Ranch, and BBQ
Dipping sauces add an exciting twist to your chicken tenders. Here are some popular choices to consider:
– Honey Mustard: A sweet and tangy option that complements the crunchiness of the tenders.
– Ranch Dressing: A classic favorite among kids, ranch provides a creamy and herby contrast.
– BBQ Sauce: For those who enjoy a smoky flavor, BBQ sauce is a perfect match that enhances the savoriness of the chicken.
Feel free to get creative by offering a variety of sauces, allowing everyone to customize their experience!
Pairing Ideas: Suggested Sides That Complement the Tenders for a Balanced Meal
To round out your meal, consider pairing your chicken tenders with nutritious and satisfying sides. Here are some ideas:
– Veggie Sticks with Hummus: Carrot, cucumber, and bell pepper sticks served with hummus provide a crunchy and healthy addition.
– Sweet Potato Fries: Baked sweet potato fries are a delicious alternative to traditional fries and add a touch of sweetness to the meal.
– Coleslaw: A fresh coleslaw can add a refreshing crunch, balancing the heaviness of the chicken tenders.
These sides not only complement the chicken but also provide a colorful and nutritious meal.
Presentation Tips: Making the Meal Appealing for Kids and Adults Alike
Presentation can make a meal more inviting, especially for children. Here are some tips to enhance the visual appeal of your chicken tender meal:
– Use Colorful Plates: Serving your tenders on bright, colorful plates can make the meal more exciting for kids.
– Garnish with Fresh Herbs: Sprinkle some chopped parsley or cilantro over the tenders for a pop of color.
– Arrange Creatively: Consider stacking the chicken tenders or arranging them in a fun shape on the plate to spark curiosity.
Nutritional Benefits of Crunchy Kiddo Chicken Tenders
Understanding the Health Aspects
Lean Protein: The Advantages of Chicken Breast as a Healthy Protein Source
Chicken breast is a fantastic source of lean protein, making it an excellent choice for family meals. It is low in fat while being rich in essential nutrients, including B vitamins and phosphorus. Incorporating lean protein into your diet can help support muscle growth and repair, making it especially crucial for growing kids.
Nutritional Comparison: How Air Frying Stacks Up Against Traditional Frying
One of the standout features of this recipe is the air frying method, which significantly reduces the amount of oil needed compared to traditional frying. While traditional frying can add unnecessary calories and unhealthy fats, air frying allows you to achieve that crispy texture with much less oil. This makes your chicken tenders a healthier option without sacrificing flavor.
Family-Friendly Nutrition: Making Meals That Are Both Delicious and Nutritious
Crunchy Kiddo Chicken Tenders are not only tasty but also a fantastic way to sneak in some nutrition. By using whole food ingredients and offering nutritious sides, you create a balanced meal that children will enjoy while parents can feel good about serving. Aim to include a variety of colorful vegetables and healthy sides to ensure a well-rounded meal.
Conclusion: Enjoying Crunchy Kiddo Chicken Tenders
In conclusion, Crunchy Kiddo Chicken Tenders are a fantastic addition to your family meal repertoire. They combine health-conscious cooking methods with kid-approved flavors, making them a win-win for parents and children alike. With easy-to-follow instructions and a simple ingredient list, these tenders can become a regular feature on your dinner table.
Enjoy the delightful crunch and tender inside, knowing that you’re serving a dish that everyone will love. Whether it’s a casual weeknight dinner or a fun gathering with friends, these chicken tenders will surely impress! Not only do they satisfy picky eaters, but they also allow you to promote healthy eating habits without compromising on taste. Give them a try, and watch as your family devours every bite!

