Introduction
When it comes to cake decorations, nothing quite matches the rich, velvety allure of fudge icing. This delectable topping is a staple in the world of baking, evoking fond memories of family gatherings and celebrations centered around homemade desserts. The creamy, chocolatey goodness of fudge icing not only enhances the visual appeal of cakes and cupcakes but also elevates their flavor profile, making every bite a delightful experience.
Homemade icing, especially the Old Fashioned Fudge Icing, is a testament to the joy of baking. It allows you to control the ingredients and tailor the flavor to your liking, resulting in a decadent treat that store-bought alternatives simply cannot replicate. In this article, we will delve into the intricacies of making Old Fashioned Fudge Icing, a classic choice that has stood the test of time in countless kitchens.
The Allure of Old Fashioned Fudge Icing
Definition and Characteristics of Fudge Icing
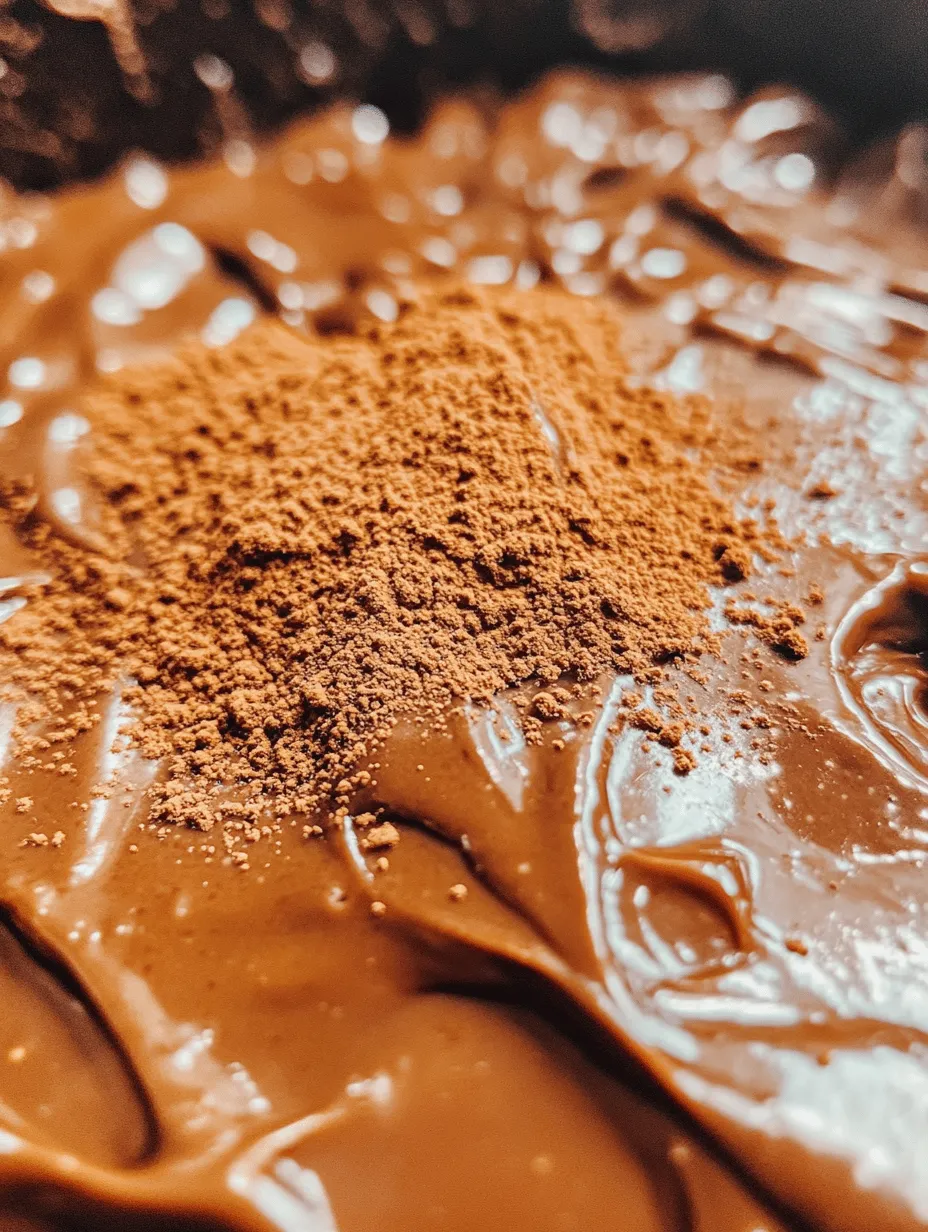
Fudge icing is a smooth, glossy frosting that boasts a rich chocolate flavor and a luscious texture. Unlike traditional buttercream, which is light and fluffy, fudge icing is denser and more indulgent, providing a decadent finish to cakes and cupcakes. Its unique consistency allows it to be spread easily across the surface of baked goods while still holding its shape, making it a favorite among bakers looking for a satisfying chocolate topping.
Historical Context
The origins of fudge icing can be traced back to the late 19th century, during a time when chocolate was becoming increasingly popular as an ingredient in American desserts. As baking techniques evolved, so did the recipes for chocolate icings. Fudge icing emerged as a beloved option, characterized by its rich flavor and smooth texture, quickly becoming a staple in American baking.
Throughout the decades, fudge icing has graced the tops of countless cakes, from simple birthday celebrations to extravagant wedding desserts. Its nostalgic appeal resonates with many, as it recalls childhood memories of baking with family or sharing treats with friends. The timelessness of fudge icing ensures its continued popularity among home bakers and professional chefs alike.
Reasons for Enduring Popularity
There are several reasons why fudge icing remains a beloved choice among bakers today. First and foremost, its rich chocolate flavor complements a wide variety of cakes, including vanilla, chocolate, and even carrot cake. The versatility of fudge icing means that it can enhance virtually any dessert, making it a go-to option for many bakers.
Furthermore, the simplicity of the ingredients used in fudge icing contributes to its appeal. Most recipes call for common pantry staples, making it accessible to everyone, regardless of their baking experience. The ease of preparation, combined with the impressive results, makes it an attractive option for both novice and seasoned bakers.
Ingredients Breakdown
To create the perfect Old Fashioned Fudge Icing, you will need a handful of essential ingredients. Each component plays a crucial role in achieving the desired flavor and texture.
Comprehensive List of Ingredients
1. Granulated Sugar: 2 cups
2. Cocoa Powder: ½ cup
3. Whole Milk: ½ cup
4. Unsalted Butter: ½ cup (1 stick)
5. Vanilla Extract: 1 teaspoon
6. Powdered Sugar: 2 cups
7. Pinch of Salt
Explanation of the Role of Each Ingredient
Granulated Sugar: The backbone of fudge icing, granulated sugar provides sweetness and structural integrity. When heated and combined with other ingredients, sugar caramelizes slightly, contributing to the overall flavor depth.
Cocoa Powder: This key ingredient provides the rich chocolate flavor that fudge icing is known for. Using high-quality cocoa powder ensures a deep, intense chocolate taste that elevates the icing.
Whole Milk: Whole milk adds creaminess and moisture to the icing, helping to create a smooth and spreadable texture. The fat content in whole milk also enhances the richness of the fudge icing.
Unsalted Butter: Butter is essential for achieving a luxurious texture in fudge icing. It contributes to the overall richness and helps to create a glossy finish when combined with other ingredients.
Vanilla Extract: A splash of vanilla extract enhances the flavor profile of the icing, balancing the richness of the chocolate with a hint of warmth and sweetness.
Powdered Sugar: This ingredient is used to adjust the consistency of the icing. Powdered sugar dissolves easily, allowing for a smooth, lump-free finish. It also adds sweetness without the gritty texture of granulated sugar.
Pinch of Salt: A small amount of salt is crucial for balancing the sweetness of the icing. It enhances the overall flavor and brings out the chocolate notes in the fudge icing, making it taste even more decadent.
Step-by-Step Instructions
Creating Old Fashioned Fudge Icing is a straightforward process, but attention to detail is essential for achieving the perfect texture and flavor. Follow these detailed steps to ensure a successful batch of fudge icing.
Combining Dry Ingredients
1. Prepare Your Workspace: Before you begin, gather all your ingredients and tools. You will need a medium-sized saucepan, a mixing bowl, a whisk or spatula, and a measuring cup.
2. Mix the Dry Ingredients: In a medium bowl, combine the granulated sugar and cocoa powder. Use a whisk to ensure that the dry ingredients are evenly distributed and free of lumps. This step is crucial, as it will help create a smooth icing without any gritty texture.
3. Set Aside: Once the dry ingredients are thoroughly combined, set the bowl aside. This mixture will be incorporated with the wet ingredients in the next steps.
As you embark on the journey of making Old Fashioned Fudge Icing, remember that the key to success lies in precise measurements and careful preparation. The combination of rich cocoa powder, creamy whole milk, and velvety butter will come together beautifully, resulting in a frosting that not only looks impressive but also tastes divine. In the following sections, we will continue with the step-by-step instructions, guiding you through the process of creating this classic icing that will elevate your cakes and cupcakes to new heights.

Heating the Mixture: Importance of Temperature Control and Achieving the Soft-Ball Stage
When making Old Fashioned Fudge Icing, the heating stage is crucial. The mixture typically consists of sugar, butter, milk, and cocoa powder, which need to be brought to a precise temperature. To achieve this, use a heavy-bottomed saucepan to provide even heat distribution.
You’ll want to heat the mixture over medium heat, stirring continuously to prevent it from sticking and burning. The goal is to reach the soft-ball stage, which occurs at around 235°F to 240°F (112°C to 115°C). To test for this stage, drop a small amount of the mixture into a glass of cold water. If it forms a soft ball that you can easily flatten between your fingers, you have reached the perfect consistency. This step is vital because it ensures your fudge icing will have the right thickness and smoothness once cooled.
Incorporating Vanilla: Timing and Method for Best Flavor Infusion
Once your fudge mixture reaches the soft-ball stage, remove it from the heat and allow it to cool slightly—about 5 to 10 minutes. The timing here is important; adding vanilla too soon can cause it to evaporate, diminishing its flavor.
After the mixture has cooled slightly, stir in the vanilla extract. Use a rubber spatula to gently fold the vanilla into the mixture, ensuring it is evenly distributed. The warmth of the fudge will help to amplify the vanilla flavor, creating a rich and aromatic icing. Be careful not to overmix at this stage, as too much agitation can cause the icing to become grainy.
Cooling and Thickening: Understanding the Significance of This Step
Once the vanilla is incorporated, the fudge icing needs to cool further to thicken. This cooling period allows the sugar crystals to form properly, which is essential for achieving that velvety texture. The icing should be stirred occasionally during this time. You will notice as it cools, it begins to thicken and develop a beautiful creamy consistency.
Understanding the temperature is also key here. Ideally, you want the fudge icing to cool to around 110°F (43°C) before moving on to the next step of mixing in powdered sugar. If it cools too much, it will be challenging to incorporate the sugar smoothly; too warm, and it may not set correctly.
Mixing in Powdered Sugar: Techniques for Achieving a Smooth and Creamy Consistency
In this step, you will take the cooled fudge mixture and gradually mix in the powdered sugar. It’s best to sift the powdered sugar to avoid lumps, ensuring that your icing will be smooth. Start by adding about a cup of powdered sugar at a time, mixing gently with a spatula or electric mixer on low speed.
As you incorporate the sugar, you will start to see the mixture transform. The consistency will become thicker as you continue to fold in the sugar. If you find the icing too thick, you can add a small splash of milk to help loosen it slightly. The key is to mix until you achieve a glossy and creamy icing that holds its shape but is still spreadable.
Tips for Perfecting Your Fudge Icing
Suggestions for Achieving the Right Thickness and Texture
– Temperature Monitoring: Always use a candy thermometer to accurately gauge the temperature during the heating process.
– Cool Gradually: Allow the icing to cool gradually, avoiding sudden temperature changes that may affect texture.
– Consistency Check: Before adding all the powdered sugar, check the consistency by spreading a small amount on a plate. It should hold its shape but not be too stiff.
Adjustments for Varying Sweetness Preferences
If you find that the icing is too sweet for your taste, consider reducing the amount of sugar slightly or adding a small pinch of salt to balance the sweetness. Conversely, if you prefer a sweeter icing, you can increase the sugar content a little.
Alternative Flavorings or Ingredients for Customization
Feel free to experiment with different flavorings to customize your fudge icing. Some popular options include:
– Coffee: Adding a teaspoon of espresso powder enhances the chocolate flavor.
– Nut Extracts: Almond or hazelnut extracts can add a unique twist.
– Spices: A dash of cinnamon or cayenne can create a warm, spicy flavor.
Common Mistakes to Avoid When Making Fudge Icing
– Skipping the Thermometer: Not using a thermometer can lead to incorrect temperatures, resulting in a grainy texture.
– Overmixing: Mixing too much after adding the powdered sugar can introduce air and make the icing fluffy instead of creamy.
– Ignoring Cooling Times: Rushing the cooling process can lead to a runny icing that won’t set properly.
Serving Suggestions
Ideas for Cakes and Cupcakes that Pair Well with Fudge Icing
Old Fashioned Fudge Icing is versatile and pairs beautifully with various desserts. Here are some suggestions:
– Chocolate Cake: A classic pairing; the rich chocolate flavor complements the fudge icing perfectly.
– Vanilla Cupcakes: The sweetness of vanilla contrasts nicely with the rich chocolate icing.
– Red Velvet Cake: The vibrant color and slight tang of red velvet highlight the deep chocolate flavor of the fudge icing.
Creative Plating and Decoration Techniques to Enhance Presentation
To elevate the presentation of your desserts:
– Drizzle: Allow some fudge icing to set slightly, then drizzle it over the top of cakes or cupcakes for a decorative touch.
– Sprinkles: Add colorful sprinkles or chopped nuts on top of the icing for added texture and visual appeal.
– Layering: Use fudge icing between cake layers for an indulgent treat that surprises with rich flavor in every bite.
Use of Fudge Icing in Layered Desserts or as a Filling
Fudge icing can also be used creatively in layered desserts. Consider using it as a filling between layers of sponge cake or in trifles. Layer it with whipped cream and crushed cookies for a decadent dessert that impresses guests.
Storing and Reusing Leftover Fudge Icing
Best Practices for Storing Fudge Icing
If you find yourself with leftover fudge icing, it can be stored in an airtight container in the refrigerator for up to a week. Ensure the container is sealed well to prevent the icing from absorbing odors from the fridge.
Tips for Reheating or Reusing Icing in Future Baking Projects
When you’re ready to use the leftover icing:
– Reheat Gently: Warm it slowly in the microwave or on the stovetop over low heat, stirring frequently until it reaches a spreadable consistency.
– Combine: If the icing has thickened too much during storage, you can blend in a bit of milk to restore its creamy texture.
Nutritional Information
While indulgent, Old Fashioned Fudge Icing can be enjoyed in moderation. Here’s a brief overview of its nutritional content per tablespoon:
– Calories: Approximately 90-100 calories
– Fat: 4-5 grams
– Sugar: 12-15 grams
– Carbohydrates: 15 grams
Being aware of portion sizes is essential. Enjoying a slice of cake with a thin layer of fudge icing can satisfy your sweet tooth without going overboard.
Conclusion
Recapping the delightful qualities of Old Fashioned Fudge Icing, this recipe brings together rich flavors and a nostalgic texture that is sure to impress. The process may seem intricate, but the results are worth every effort. Homemade fudge icing adds a touch of love to your baked goods, making them even more special.
We encourage you to try making this icing at home and experience the joy of crafting a classic recipe that has been cherished for generations. Baking is not just about making desserts; it’s about creating memories and sharing joy with loved ones. So gather your ingredients, roll up your sleeves, and dive into this delectable venture. Your taste buds will thank you!
