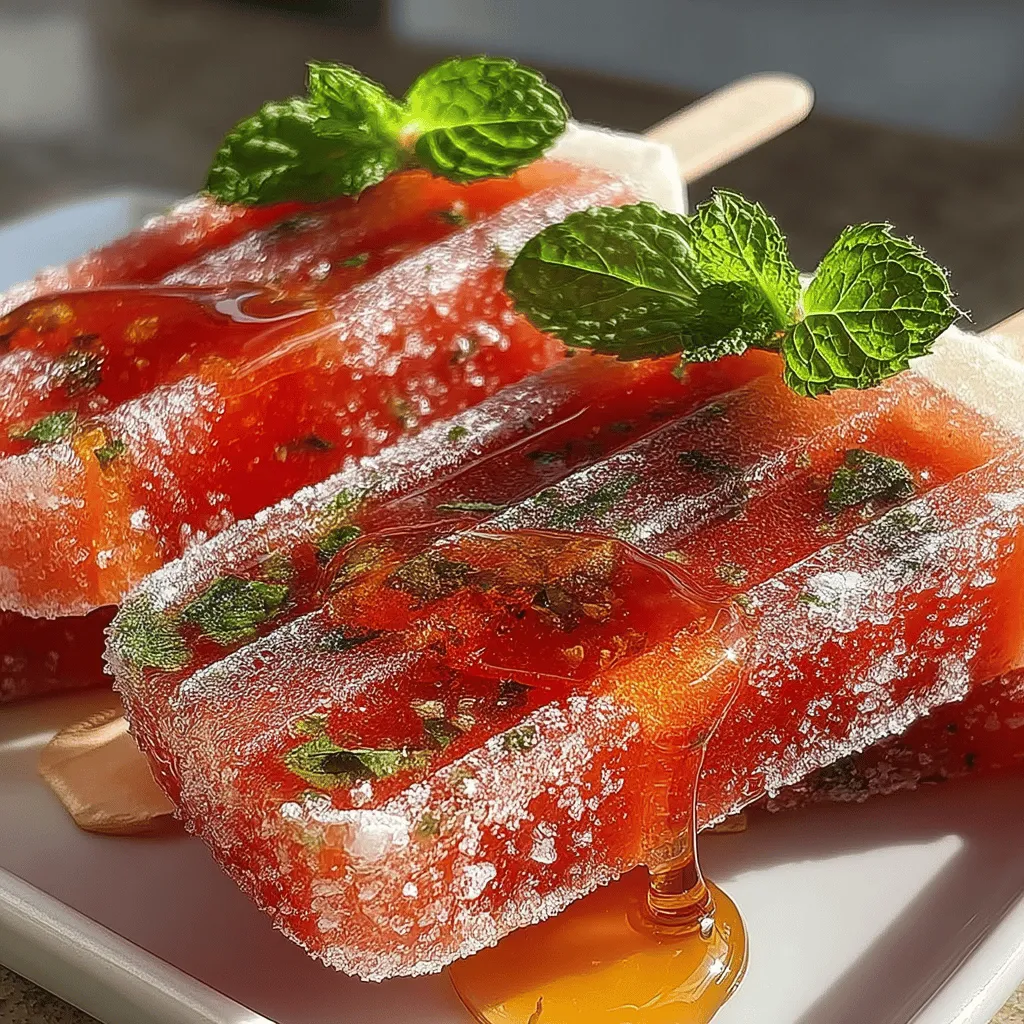
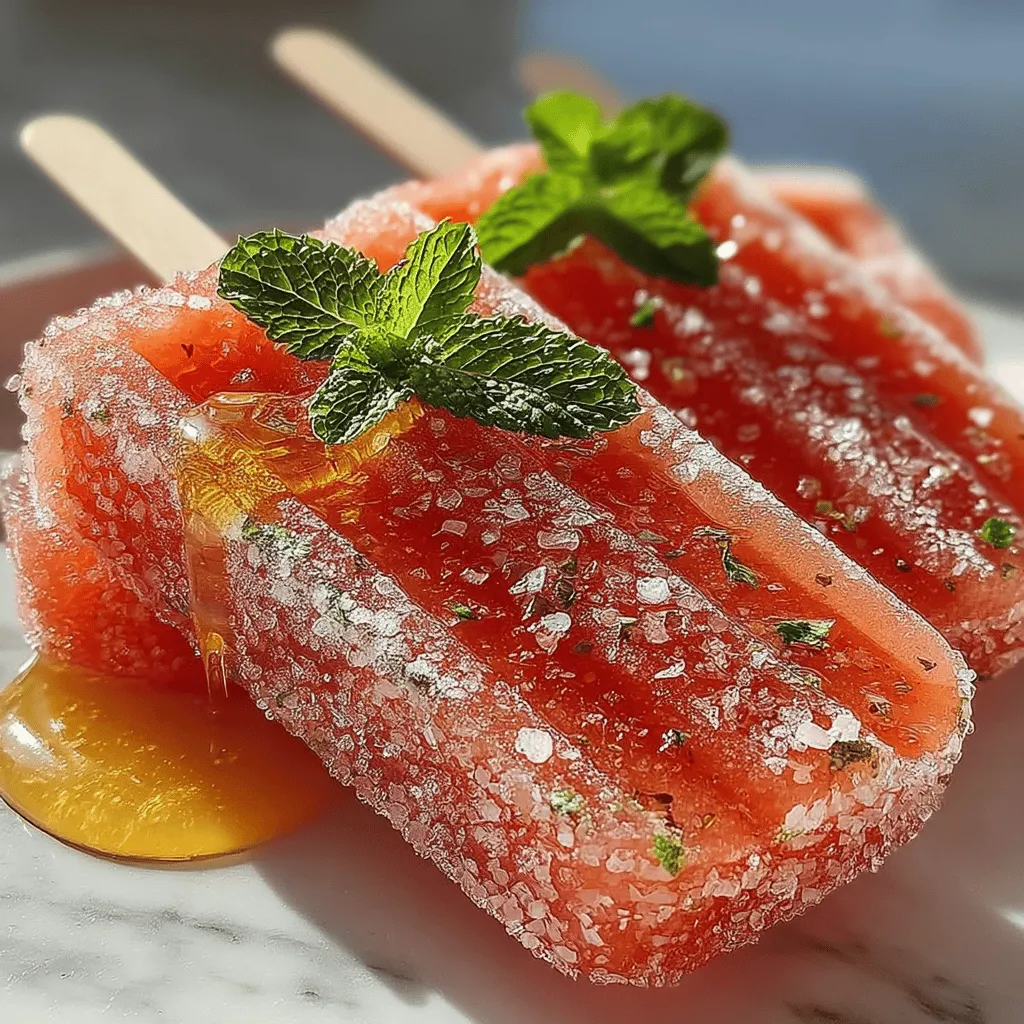
Refreshing Watermelon Pops Recipe
As the sun shines brighter and temperatures rise, our cravings shift toward cooler, lighter treats that can help us beat the heat. Summer is synonymous with refreshing snacks, and what better way to celebrate the season than with homemade popsicles? Among the myriad of fruits that grace our tables during these warm months, watermelon stands out as a quintessential choice. Known for its juicy sweetness and vibrant color, watermelon is not only delicious but also incredibly hydrating, making it a perfect base for a refreshing summer treat.
In recent years, the popularity of homemade popsicles has surged, largely due to their versatility and the health-conscious choices they offer. Unlike store-bought versions that may be laden with artificial flavors and preservatives, making your own popsicles allows you to control the ingredients, ensuring a healthier option for you and your family. One delightful recipe that embodies this spirit of summer indulgence is the Refreshing Watermelon Pops. This recipe is not only simple to prepare but also appeals to all ages, making it an ideal choice for family gatherings, picnics, or simply enjoying on a hot day.
Understanding Watermelon and Its Benefits
Watermelon, scientifically known as Citrullus lanatus, is a fruit that has been enjoyed for centuries, with its origins tracing back to Africa. This hydrating fruit is composed of about 92% water, making it an excellent choice for keeping hydrated during the sweltering summer months. But watermelon is more than just a thirst-quencher. It boasts a rich nutritional profile, providing essential vitamins and minerals, including vitamin C, vitamin A, potassium, and magnesium. Each of these nutrients plays a crucial role in maintaining overall health, from supporting the immune system to promoting healthy skin.
One of the most notable health benefits of watermelon is its ability to help regulate body temperature. Consuming this refreshing fruit not only hydrates but also cools the body from the inside out. Additionally, watermelon is rich in antioxidants, such as lycopene, which has been linked to various health benefits, including reduced inflammation and improved heart health. This makes watermelon not just a delicious summer snack, but a smart choice for your health.
Ingredients Overview
To create the Refreshing Watermelon Pops, you will need a few simple yet impactful ingredients. Each one plays a vital role in crafting the perfect popsicle.
– Seedless Watermelon: The star of the show, watermelon provides the base for these pops. Using seedless watermelon ensures a smooth texture and uninterrupted enjoyment, allowing the sweet and juicy flavor to shine through without any distractions.
– Lime Juice: A splash of lime juice elevates the flavor of the pops, adding a zesty brightness that complements the sweetness of the watermelon. Lime also offers its own health benefits, including vitamin C and antioxidants.
– Sweetener (Honey or Agave Syrup): Depending on your preference, you can choose between honey and agave syrup to add sweetness. Honey brings a natural, floral sweetness, while agave syrup is a great alternative for those seeking a vegan option. Both options are healthier than refined sugars, providing a more natural approach to sweetness.
– Coconut Water: An optional ingredient that not only adds a subtle tropical flavor but also enhances the hydrating properties of the pops. Coconut water is packed with electrolytes, making it a fantastic addition for those hot summer days.
– Mint Leaves (Optional Garnish): Fresh mint leaves can be used as a garnish for an added touch of flavor and a pop of color. Mint not only enhances the aesthetic appeal of the pops but also provides a refreshing finish with every bite.
Step-by-Step Instructions for Making Watermelon Pops
Blending the Watermelon Mixture
To begin your journey toward crafting these delightful pops, start by preparing your watermelon. Slice your seedless watermelon into manageable chunks, discarding any seeds you may encounter. Place the watermelon pieces into a blender or food processor and blend until smooth. The goal is to achieve a velvety consistency that can easily be poured into molds. For the best results, blend the watermelon in batches if necessary, ensuring that each portion is evenly processed.
As you blend, keep an eye on the consistency. Ideally, you want the mixture to be smooth and free of any chunks. If you find the mixture too thick, feel free to add a splash of coconut water to help it along. This not only aids in blending but also contributes to the overall hydration factor of your pops.
Taste Testing for Sweetness
Once you have a smooth watermelon mixture, it’s time for the most enjoyable part—taste testing! This is where you can adjust the sweetness to your liking. Pour a small amount of the blended watermelon into a glass and add a splash of lime juice. If you prefer a sweeter popsicle, start by adding a teaspoon of honey or agave syrup to the mixture. Blend again to incorporate the sweetener fully.
Taste the mixture once more and adjust as needed. Keep in mind that the sweetness will become slightly muted once frozen, so it’s wise to aim for a flavor that is pleasantly sweet but not overly sugary. This balance will ensure that your Refreshing Watermelon Pops are a hit among both kids and adults alike.
By following these initial steps, you’re well on your way to creating a batch of Refreshing Watermelon Pops that are not only delicious but also a celebration of summer’s bounty. The next part of our recipe will guide you through the process of pouring the mixture into molds and freezing them to perfection, ensuring that each bite is a refreshing escape from the heat. Stay tuned for the continuation of this delightful recipe!

Preparing Popsicle Molds
To create the perfect Refreshing Watermelon Pops, selecting the right molds is essential. There are various types of popsicle molds available on the market, each with its unique features and benefits.
Recommendations for Different Types of Popsicle Molds
1. Silicone Molds: Silicone molds are flexible and non-stick, making it easy to remove the popsicles without damaging them. They come in various shapes and sizes, which can add a fun twist to your pops.
2. Plastic Molds: These are the traditional molds that many people are familiar with. They are often affordable and come with individual compartments for easy serving.
3. Stainless Steel Molds: For an eco-friendly option, stainless steel molds are durable and long-lasting. They provide an excellent freeze, ensuring your popsicles are solid in no time.
4. Ice Cube Trays: If you don’t have popsicle molds, using a regular ice cube tray can work in a pinch. Just make sure to adjust the serving size accordingly.
Tips for Leaving Space for Expansion During Freezing
When filling your molds, it’s crucial to leave a small amount of space at the top. As the watermelon juice freezes, it expands, and if the molds are filled to the brim, you risk spills and misshapen pops. A good rule of thumb is to fill the molds about ¾ full to allow for expansion. This tip will help you achieve perfectly shaped popsicles while avoiding any mess in your freezer.
Inserting Popsicle Sticks
Once your molds are filled, the next step is to insert the popsicle sticks. This step is vital for enjoying your watermelon pops without needing to worry about messy fingers.
Guidance on Proper Placement of Sticks for Best Results
If your molds come with built-in stick holders, simply follow the design. For molds that do not, carefully insert the sticks into the center of each filled mold once they’ve begun to freeze but are still soft enough to hold the sticks upright. This typically takes about 1-2 hours. Make sure the sticks are centered and straight to ensure even freezing and easy handling later on.
Alternatives if Molds Do Not Require Sticks
If you are using molds that do not require sticks, such as ice cube trays, you can enjoy the pops directly from the mold. In this case, consider using a small spoon for scooping out the frozen watermelon treat. This is a great option for young children who may find the sticks cumbersome.
Freezing Process
Now that your molds are prepped, it’s time for the freezing process.
Recommended Freezing Time and Tips for Ensuring Complete Solidification
For optimal results, place your filled molds in the freezer for at least 4-6 hours or until they are completely solid. The longer you can leave them, the better, as this ensures a perfectly firm popsicle.
To ensure even freezing, avoid placing the molds too close together; airflow is crucial for even freezing. If you notice uneven freezing, gently rotate the molds after a couple of hours to help distribute the cold.
Discussing the Importance of Patience During the Freezing Process
While waiting for your pops to freeze, it’s important to practice patience. The anticipation of enjoying a refreshing treat is part of the fun! Rushing this step can lead to popsicles that are not fully set, resulting in a mushy texture.
Unmolding the Popsicles
Once your watermelon pops have frozen solid, it’s time to enjoy the fruits of your labor. However, removing them from the molds requires a bit of care.
Techniques for Easily Removing Pops from Molds
For silicone molds, simply bend the mold gently to release the pops. For plastic molds, you can run warm water over the outside of the mold for a few seconds to loosen the popsicles.
If you are using an ice cube tray, gently twist it to help free the pops. Avoid using excessive force, as this can lead to broken popsicles.
Importance of Gentle Handling to Avoid Breaking
Handle your popsicles with care to prevent them from breaking. If they seem particularly stubborn, allow them to sit at room temperature for a minute to soften slightly before attempting removal. This extra step can save you from disappointment.
Garnishing and Serving Suggestions
Your Refreshing Watermelon Pops are now ready to be enjoyed! Elevate your presentation with a few simple garnishing ideas.
The Role of Fresh Mint Leaves in Enhancing Flavor and Presentation
Fresh mint leaves not only add a vibrant color contrast but also complement the sweetness of watermelon beautifully. Place a mint leaf atop each popsicle or serve them alongside the pops for an aromatic touch.
Ideas for Serving the Pops at Gatherings or Family Events
These watermelon pops are perfect for summer gatherings! Consider serving them on a decorative platter with a selection of other fruit pops or smoothies for a colorful dessert table. You can also set up a DIY popsicle bar with toppings such as shredded coconut, chopped nuts, or colorful sprinkles for guests to customize their pops.
Creative Variations on the Watermelon Pops Recipe
While the classic watermelon pops are delicious on their own, there’s always room for creativity in the kitchen.
Suggestions for Flavor Variations
1. Berries: Blend in fresh strawberries, blueberries, or raspberries for a fruity twist. The tartness of these berries will balance the sweetness of the watermelon.
2. Lime Zest: Add a touch of lime zest to the watermelon puree for a refreshing citrus kick that enhances the overall flavor.
3. Coconut Water: Replace some of the watermelon juice with coconut water for a tropical flair. This will also add an extra layer of hydration.
Tips for Incorporating Yogurt for a Creamier Texture
For a creamier texture, consider mixing in Greek yogurt or coconut yogurt with the watermelon puree. This not only adds creaminess but also a tangy flavor that can elevate your pops. Be sure to adjust the amount of sweetener to balance the added tartness.
Ideas for Layering Different Fruit Purees in the Molds for Visual Appeal
Get creative with layering! Pour different fruit purees (like mango or kiwi) in alternating layers for a colorful and visually stunning treat. Allow each layer to freeze for about 30 minutes before adding the next to keep the layers defined.
Conclusion
Making Refreshing Watermelon Pops at home is a delightful and uncomplicated way to enjoy a summer treat. With just a few simple ingredients and steps, you can create a deliciously hydrating snack that’s not only enjoyable but also packed with health benefits. Watermelon is rich in vitamins A and C, low in calories, and helps keep you hydrated during those hot summer days.
Don’t hesitate to experiment with flavors, and encourage your friends and family to join in on the fun. Whether you’re hosting a summer barbecue, a birthday party, or simply enjoying a day at home, these watermelon pops are sure to be a hit. So grab your ingredients, gather your molds, and start creating these refreshing treats today!

